Patch Diffing In Depth
Overview
This blog post is not about the vulnerability, It’s about how to rediscover a privately disclosed Windows vulnerability by going from knowing only the vulnerability Descryption, CVE, and Patch Date.
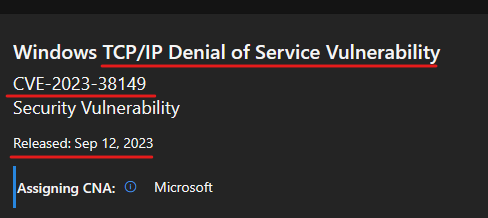
This is all that we get.
Get different Windows Patches
The process of getting different versions of Windows files is pretty easy, we have two ways.
- If you know exactly what files you need you can simply search it in this site(x86_64).
But actually, it’s not often to know what the actual vulnerable component or piece of software is, because the disclosure has no hints for that, so we are getting to the next way which requires a little bit of work.
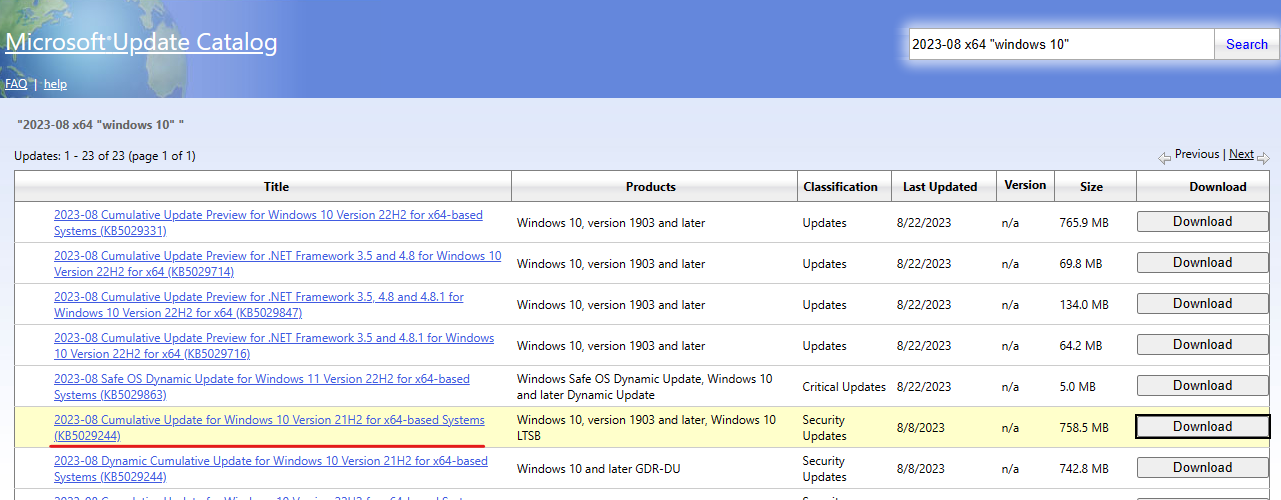
- microsoft update catalog is a huge database containing all the patches you need, so let’s investigate what we can do in our example.
we are looking “12/9/2023” patch and the patch before it, so we can construct a good search query to get this like 2023-09 x64 "windows 10"
Note: Be sure that you pick one suitable for your build.

you can read here about different types of updates but we will use cumulative one.
And then do the same with the previous month.
Extract Patches
The .msu files consist of multi-layer CAP files before reaching the one that has the needed patches, you can use the following command with the big one that doesn’t have the prefix “SSU” (you will know why if you read the resource mentioned before for windows update types).
expand.exe -F:* "msu/cap" "target folder"
The process can take some time depending on your computer’s performance.
Define Targets
| after done I launched the command “diff -qr 2023-08/patch/ 2023-09/patch/ | grep tcp” to diff all the files in the two directories and filter the result to tcpip related stuff. |
Note: This can take a really long time just let it run.
Here are our results
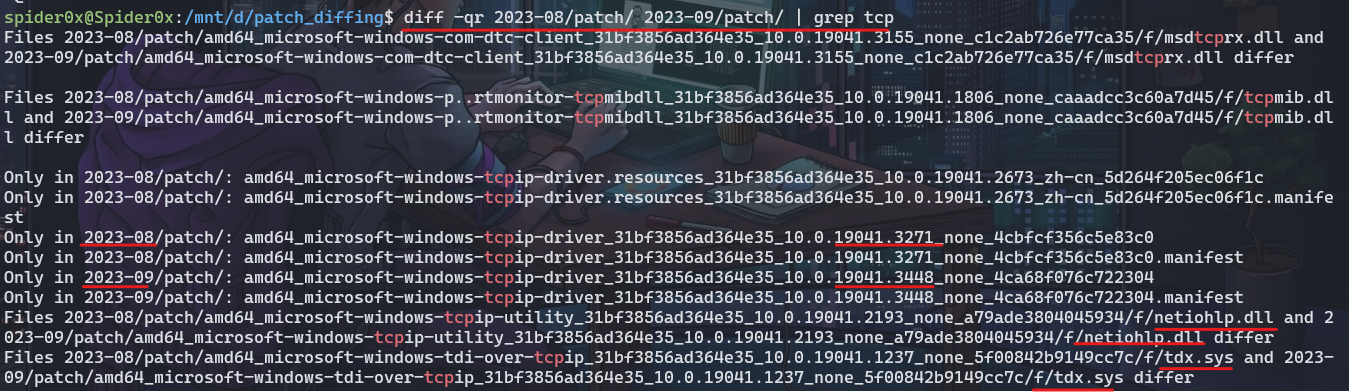
there are three notices here:
-
Executables don’t get modified, they get compiled from the start so there is another version of the “tcpip.sys” driver that has some changes in a totally new folder.
-
“netionhlp.dll” also had some changes.
-
“tdx.sys” was also replaced with another one with some changes.
For now, we have three targets that we will test to find our vulnerability.
Apply Delta
these new folders for “tcpip.sys” for example don’t have the actual version of the file as you may expect they have two folders one called “r” which stands for reverse delta and the other called “f” stands for “Forward delta”.
the reverse delta is used to restore any version of the file to its original first build where we can apply the forward delta to get it back to the needed version.
This means we still have some work to do, I picked up a version of “tcpip.sys” from “WinSxS” and applied those deltas for them, I am using a tool called delta_patch.py to do that.
python.exe .\delta_patch.py -i .\tcpip.sys -o .\vuln_binary\tcpip_old.sys .\vuln_binary\r\tcpip.sys .\patched_binary\f\tcpip.sys
Do that for both of them.
Note: If this error out then you need to be sure that the downloaded updates are for your build.
Binary Diffing
Now we have our first target with old and new versions so let’s Diff them using BinDiff.
And we finally can find the small changes made to these two files.
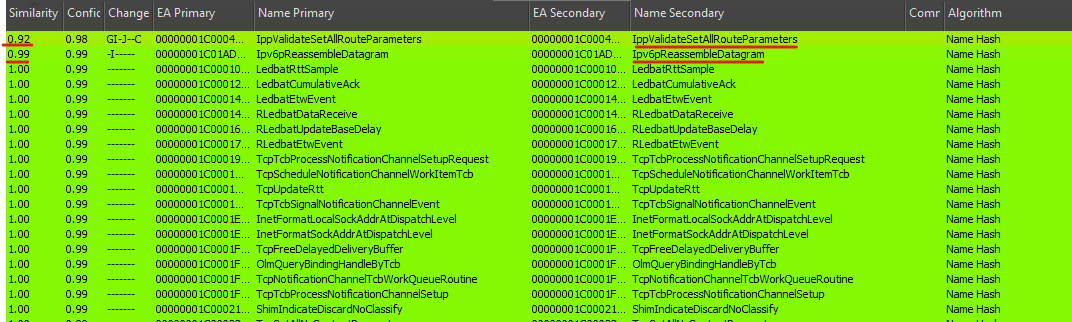
we can see some lines of assembly added to “Ipv6pReassembleDatagram” function.
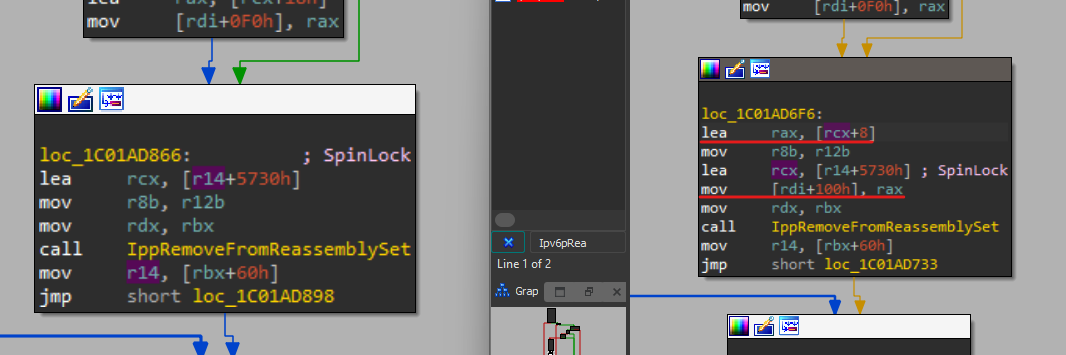
and also some changes in another function.
Conclusion
This post is not about binary exploitation so I won’t get into details of where exactly the vulnerability is, that will be for another blog post, but here we managed to put our hands on the vulnerable code using patch diffing and parsing different update packages for Windows.